Printer Installation – Macintosh or Windows
Click Plus Sign (+) Below to Expand to View Installation Instructions for Operating System of Choice
Printer Installation Steps for Macintosh
For more information on WolfPrint printers in the College of Design, see the page with general information about printing.
IMPORTANT: If you had College of Design WolfPrint printers installed from previous school years, remove those from your computer, or reset your computer’s printing system. The older printers will no longer work.
Resetting your computer’s printing system will remove ALL of the printers currently installed on your computer. If you have printers besides those at the College of Design, you may wish to individually remove the old College of Design printers manually and leave your other printers intact. Instructions for doing this both ways are included here.
To reset your printing system (remove all printers at once)—
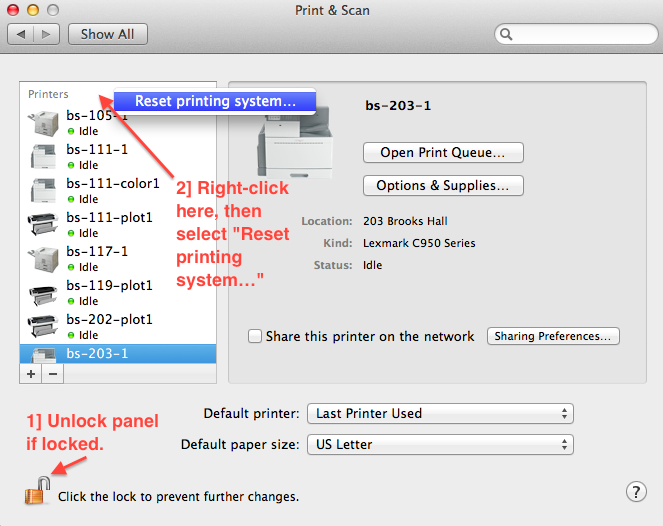
1] Open System Preferences>Printers and Scanners.
2] Unlock the panel if it is locked. Right-click (or hold the Control key and click) within the list of printers on the left side. Select Reset printing system… from the pop-up menu.
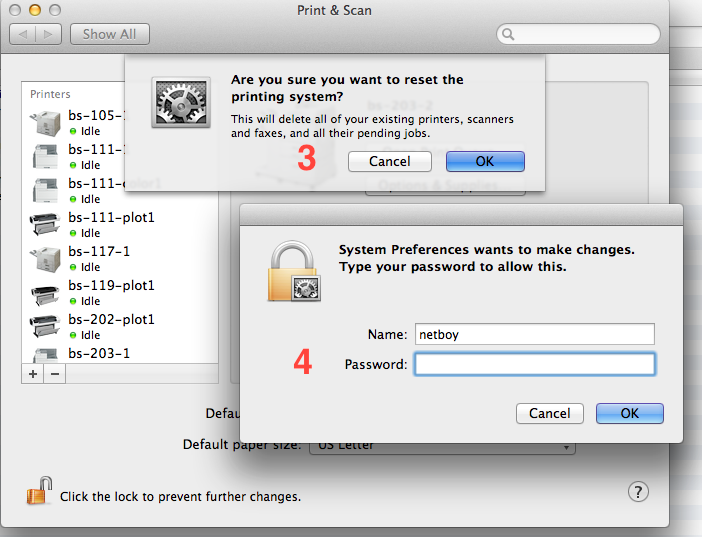
3] A confirmation panel will appear. Click OK to proceed.
4] Type your computer’s administrative password in the next window to confirm the changes.
It will take a moment for the printing system to reset. At that point the printer list will be empty and you can proceed to install the new printers. Skip the next section, “To Remove Printers Manually” to proceed with installing the new drivers and printers.
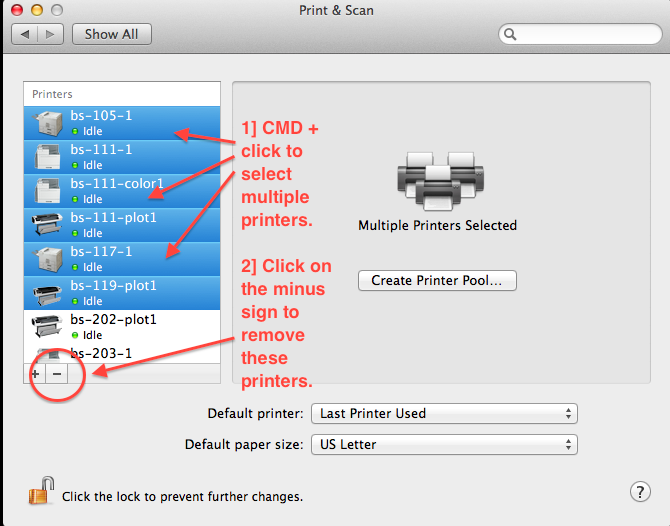
To Remove Printers Manually—
1] Open System Preferences>Printers and Scanners. 2] Unlock the panel if it is locked. Hold down the COMMAND key and click on the printer names to select multiple printers. Click the minus sign to remove the printers. A confirmation panel will appear. Click OK to proceed.
It will take a moment for the printing system to reset. At that point the printers will be removed and you can proceed to install the printer drivers and new printers.
Removal of old printers in now complete. Proceed to installing new printer drivers.
Install Printer Drivers
Installation files for these steps are available through Google Drive here.
Printer drivers are software used by the computer to communicate with printers. Each printer manufacturer develops printer drivers with specifics for each model printer. There are several different models of WolfPrint printers in the College of Design. Your computer will need these drivers to properly communicate with the printers.
COPY THE FILES TO YOUR COMPUTER before proceeding. Don’t try to install them directly from Google Drive.

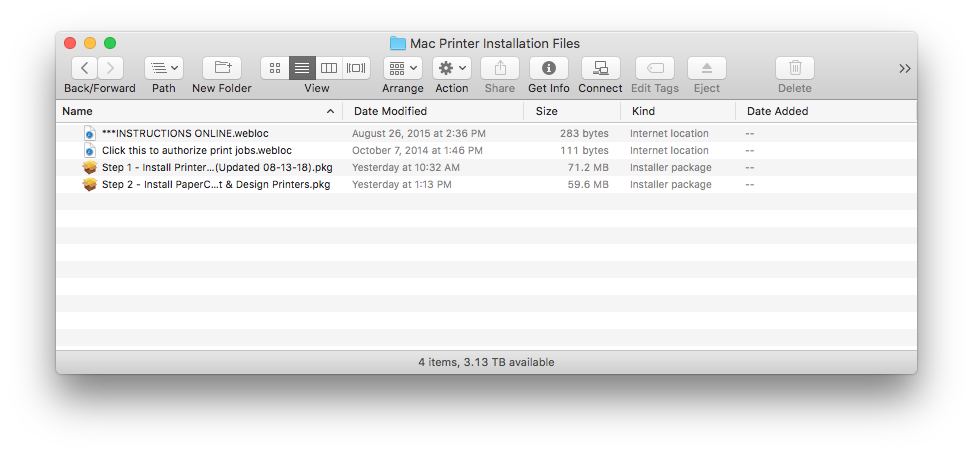
1] Find the files downloaded from Google Drive. You will need to install two packages.2] Double-click on the file Step 1 – Install Printer Drivers (Updated date).pkg. This is a package that will install or update the drivers for HP and Lexmark brand printers around the College of Design.
Follow the instructions in the installer and type your computer’s administrative password when asked. The next set of screenshots show the steps involved.
Click Continue.Click Continue. 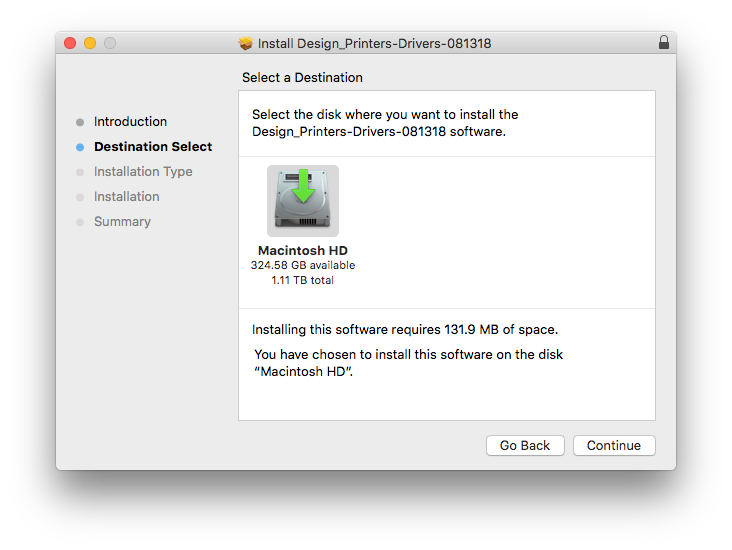 Click Install.
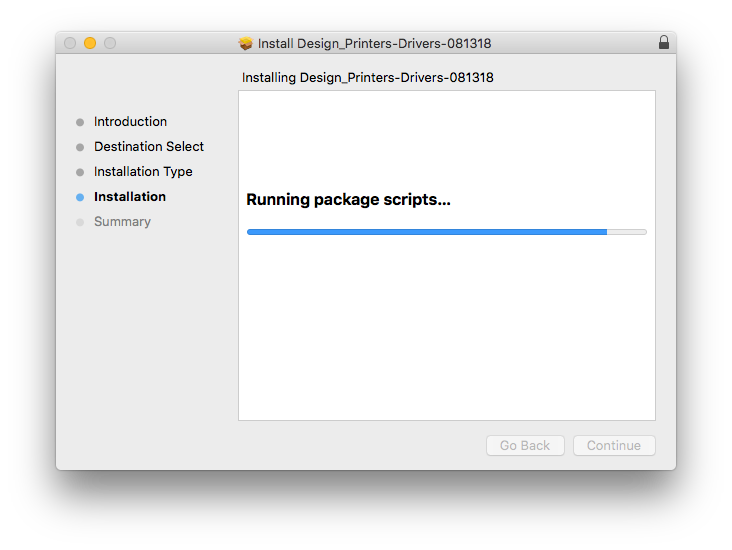
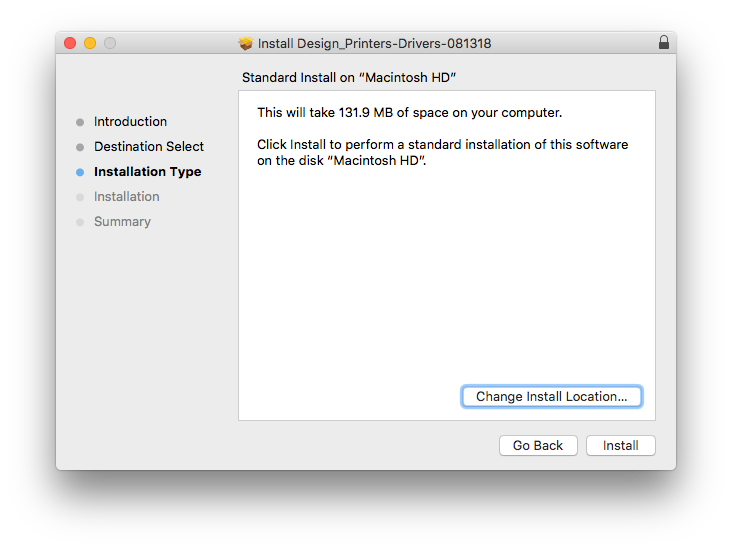
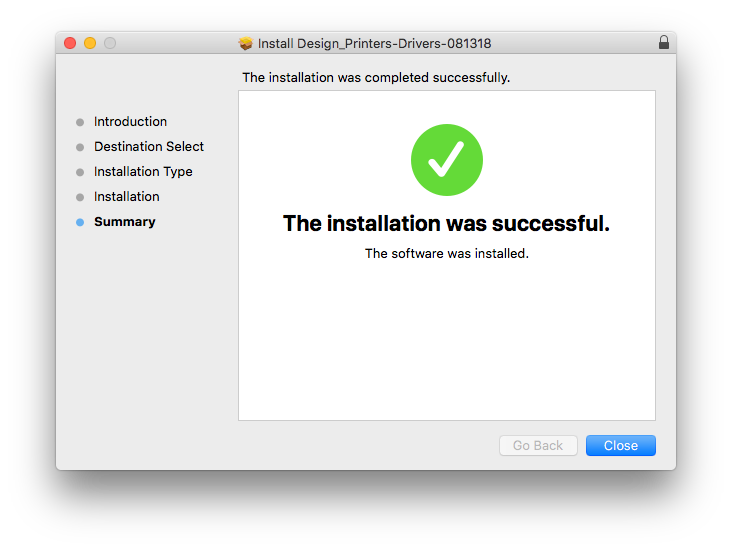
NOTE: At this point the installer will take several minutes to complete. It will appear to be stuck at “Running package scripts...”, but give it time to complete. When the installer is finished, you may quit it and move to the next step. Install
PaperCut Client and WolfPrint Printers
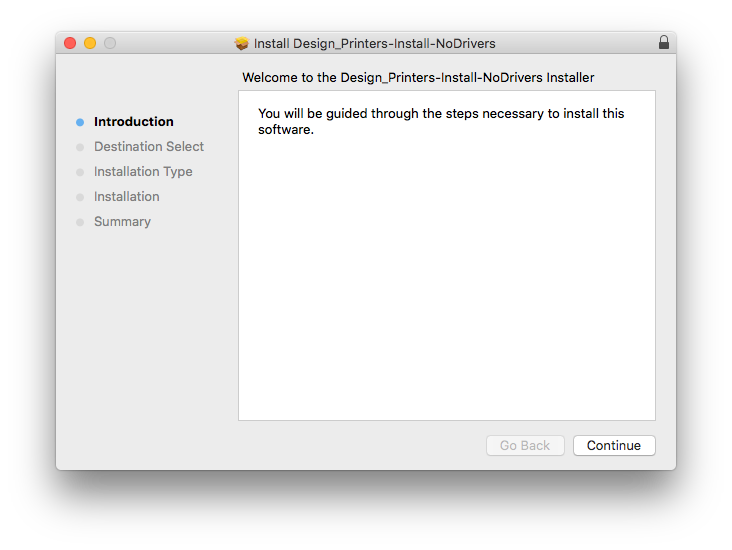
1] Double-click on the file Step 2 – Install PaperCut Client & Design Printers.pkg. This is a package that will install all of the WolfPrint printers around the College of Design.
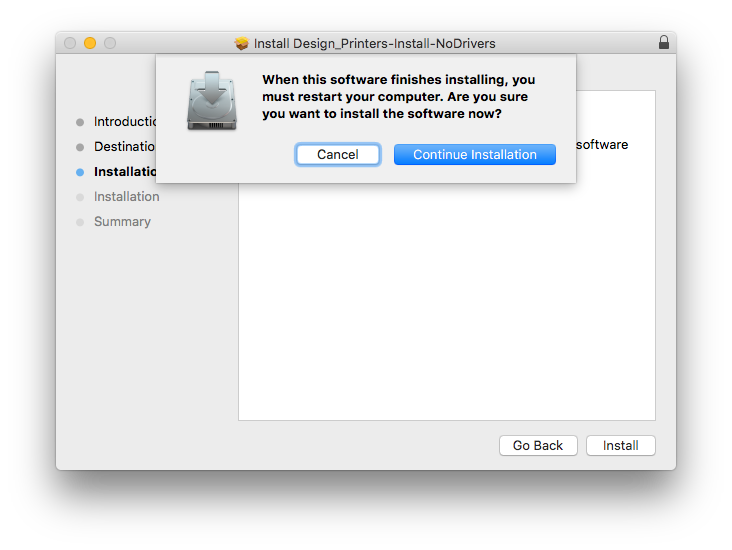
NOTE: You will need to restart your computer at the end of this installer.
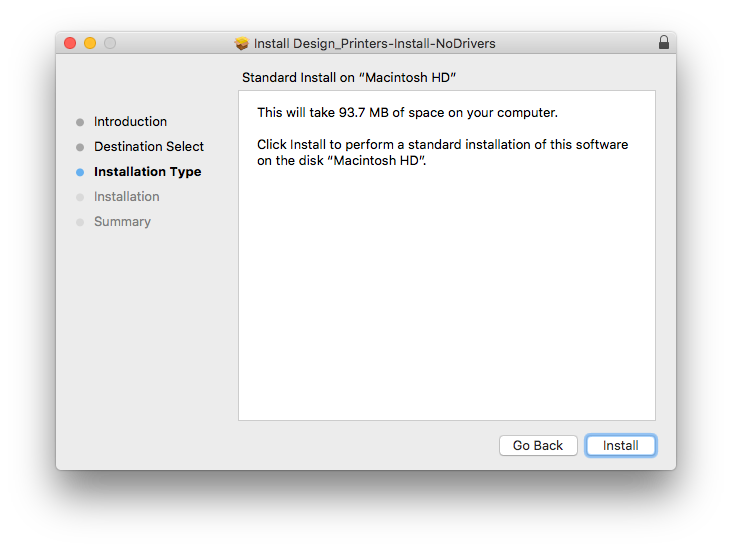
Follow the instructions in the installer and type your computer’s administrative password when asked. The next set of screenshots show the steps involved.
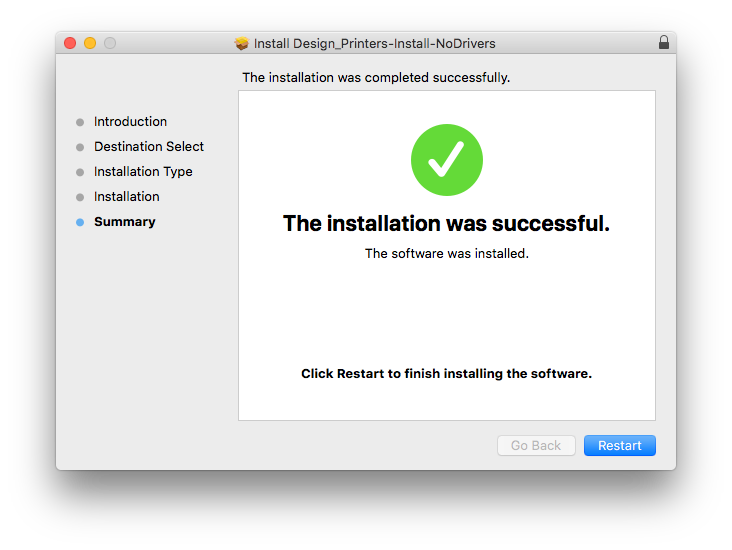
Click Continue.Click Continue. Click Install.NOTE: You will need to restart your computer once this installer finishes. Click Continue Installation. When the installer finishes, click Restart to restart your computer and complete the installation.
Once, you computer restarts, you may open System Preferences>Printers and Scanners and see all of the WolfPrint printers listed.
Launch the PaperCut Web Client to Authorize Print Jobs

1] Move the file named Click this to authorize print jobs.webloc to your computer. You may double-click this icon to launch the website go.ncsu.edu/wolfprint. This website is used to authorize print jobs. You may bookmark this page for future use. Follow these instructions to authorize print jobs over the web.
Clean Up
If you’d like, you may delete the installer files downloaded to your computer when you have finished installing everything.
Printing Files
Follow the steps on this page to authorize print jobs.
If you have trouble, please contact the College of Design IT staff in Brooks 202-204 for help. If you have a laptop you need help with, bring it with you. You can also send an email to design_help@ncsu.edu or use this form to contact the College Information Technology staff with specific information about your problem.
Printer Installation Stops for Windows
Instructions for installing College of Design WolfPrint printers on your own computer running Windows 7 Professional. Windows 10 Professional will look a little different, but the functions are the same.
NOTE: If you have printers installed from previous years on your computer, you should remove them before proceeding with these instructions. Simply right-click on the printer’s icon and select “Delete.”
There are three College of Design print servers, each with different printers. Printers are distributed among these servers. The addresses for each server and the printers available on each server are:
\des-print-01.sod.ncsu.edu
bs-111-plot1
bs-305-1
kam-g40-1
kam-400-1
lez-101-1
lez-300-color1
\des-print-02.sod.ncsu.edu
bs-111-1
bs-203-color1
bs-316-1
bs-320-1
kam-200-1
kam-200-plot1
kam-400-color1
lez-240-1
lez-300-plot1
\des-print-03.sod.ncsu.edu
bs-111-color1
bs-203-1
bs-203-plot1
bs-316-color1
bs-320-color1
kam-200-color1
kam-400-plot1
lez-300-1
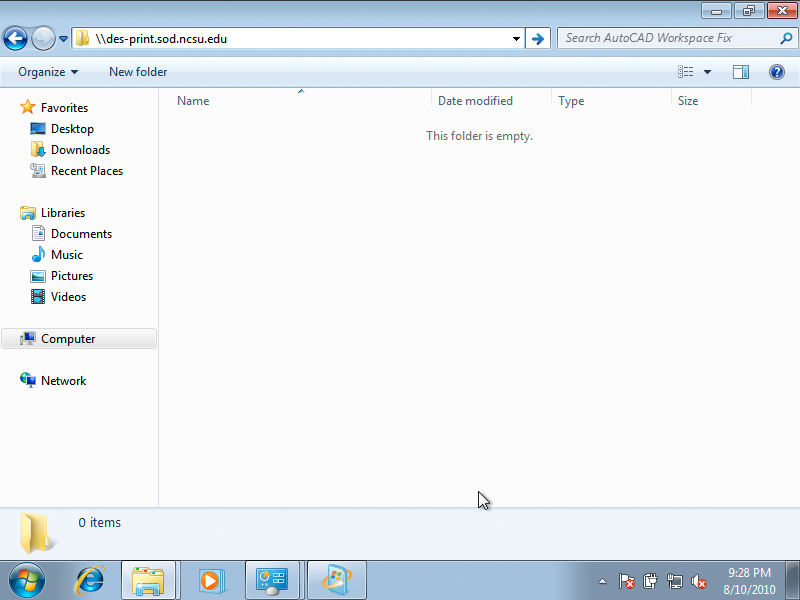
Click on your Windows button (known as the Start button in previous Windows versions) and then click on Computer. In the window’s address bar, type the address of the print server as shown below, with \ before the server name.
You will next be asked to log in to each server. Log in with your Unity ID and password. Be sure to put WOLFTECH in front of your Unity ID, as shown below. For example, if your Unity ID was joewolf, you would log in with WOLFTECHjoewolf.

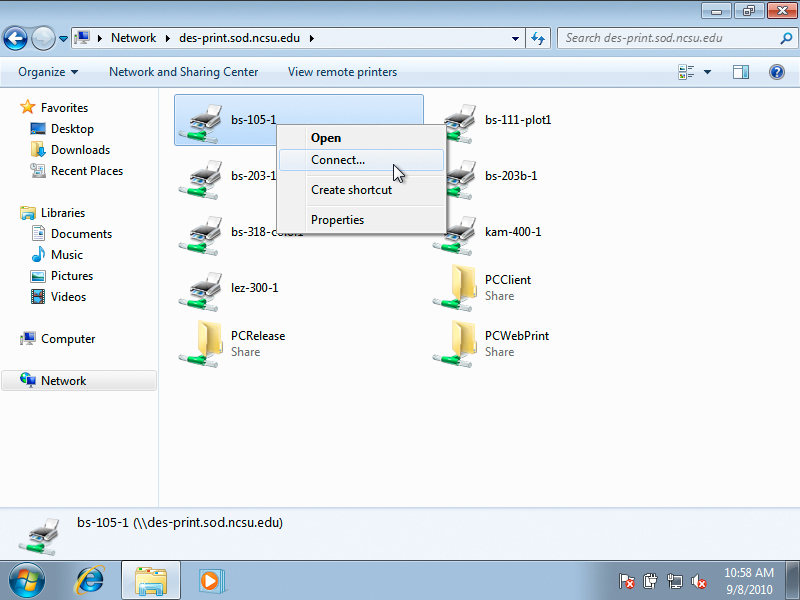
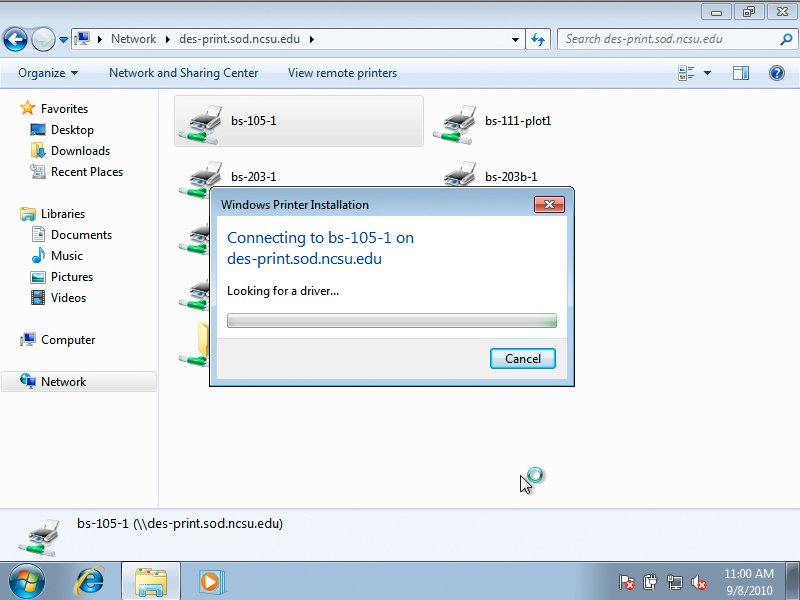
You will then be presented with a list of printers available for installation on the server. Right-click on each printer you want to install and click Connect… as shown below.
When prompted to allow the printer driver to install, click Install driver as shown below.
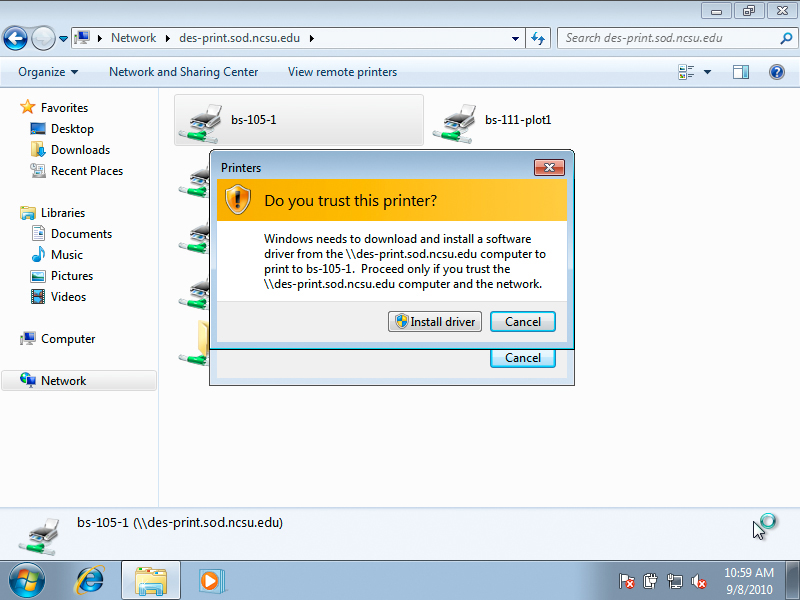
Allow the installation process to complete and do not cancel the process. Printer installation can take up to two minutes depending on network usage.
The printer will now be listed under Device and Printers in the Start/Windows menu and in the Print dialog for different applications.
Repeat this process for each printer you need to add.
The College of Design uses the WolfPrint system for its public printers. WolfPrint uses money from each user’s AllCampus (WolfPack One) account. For more information and to add money go to go.ncsu.edu/print.
In order for your print job to process correctly, you MUST authorize your print job through the WolfPrint PCClient software OR through go.ncsu.edu/wolfprint on the same computer before your job will print. See Authorizing Print Jobs In WolfPrint for more information.
Happy Printing!
If you have trouble, please contact the College of Design IT staff in Brooks 202-204 for help. If you have a laptop you need help with, bring it with you. You can also send an email to design_help@ncsu.edu or use this form to contact the College Information Technology staff with specific information about your problem.
- Categories:
